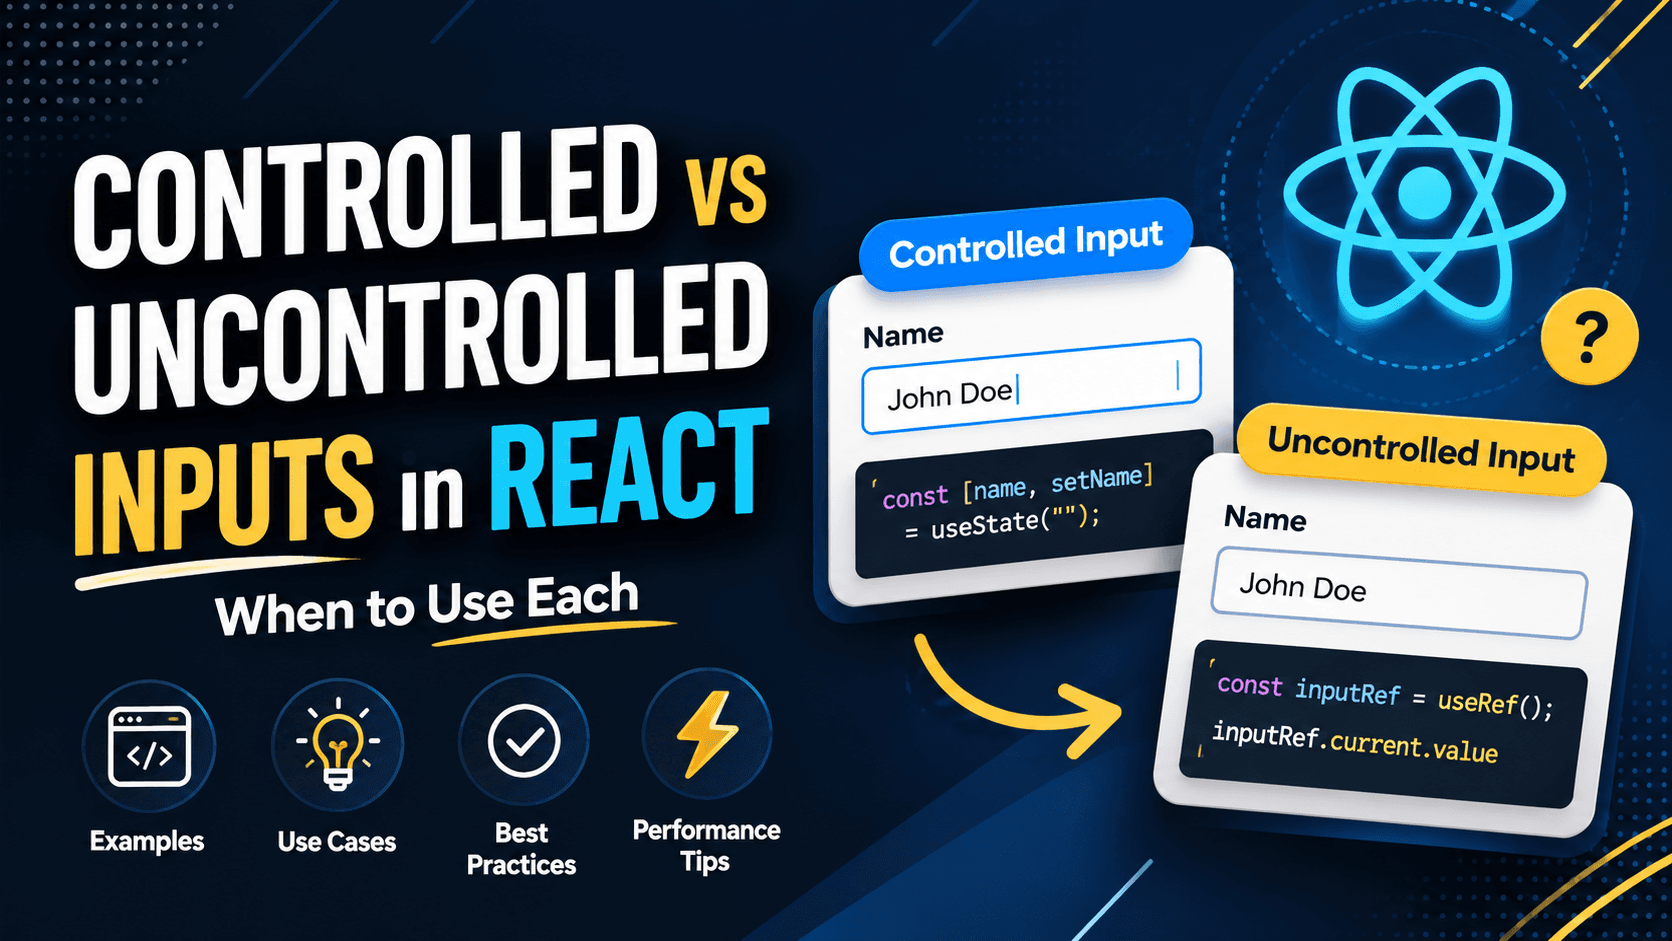
When building forms in React, one of the first concepts developers encounter is the difference between controlled and uncontrolled inputs. This decision affects how your forms behave, how they perform, and how easy they are to maintain over time.
Understanding when to use each approach is essential for writing clean, scalable React code. In this guide, we will explore both patterns in depth, compare their strengths and weaknesses, and give you clear rules for choosing the right one for your next project.
What Are Controlled Inputs?
A controlled input is an input element whose value is fully managed by React state. The component stores the current value in state, updates that state whenever the user types, and the input always displays whatever is in that state.
In simple terms, React becomes the "single source of truth" for the input's value. The input does not store its own state internally. Instead, it receives its value as a prop and notifies React of changes through an event handler.
Basic Example of a Controlled Input
        import { useState } from "react";

        export default function App() {
        const [name, setName] = useState("");

        return (
        <input
        type="text"
        value={name}
        onChange={(e) => setName(e.target.value)}
        placeholder="Enter your name"
        />
        );
        }
Here is what happens in this example:
- React controls the input value: The
value
prop is tied to thename
state variable. - State is the single source of truth: The input never holds its own value.
- Every keystroke triggers a re-render: When the user types,
setName
updates the state, and React re-renders the component with the new value.
Handling Multiple Controlled Inputs
When you have several form fields, you can manage them with separate state variables or a single state object. Here is a common pattern:
        import { useState } from "react";

        export default function LoginForm() {
        const [formData, setFormData] = useState({
        email: "",
        password: "",
        rememberMe: false
        });

        const handleChange = (e) => {
        const { name, value, type, checked } = e.target;
        setFormData(prev => ({
        ...prev,
        [name]: type === "checkbox" ? checked : value
        }));
        };

        const handleSubmit = (e) => {
        e.preventDefault();
        console.log("Form data:", formData);
        };

        return (
        <form onSubmit={handleSubmit}>
        <input
        name="email"
        type="email"
        value={formData.email}
        onChange={handleChange}
        placeholder="Email"
        />
        <input
        name="password"
        type="password"
        value={formData.password}
        onChange={handleChange}
        placeholder="Password"
        />
        <label>
        <input
        name="rememberMe"
        type="checkbox"
        checked={formData.rememberMe}
        onChange={handleChange}
        />
        Remember me
        </label>
        <button type="submit">Login</button>
        </form>
        );
        }
This pattern scales well because you add new fields without creating new state variables or change handlers.
Advantages of Controlled Inputs
Controlled inputs are the recommended approach in most React applications because they offer significant benefits for form management.
Key Benefits
- Instant validation: You can validate input as the user types, showing error messages in real time.
- Dynamic UI updates: Other parts of your UI can react instantly to what the user types.
- Conditional rendering: Show or hide fields based on current input values.
- Easier debugging: You can inspect React DevTools to see exactly what values are in your form at any moment.
- Library compatibility: Works perfectly with form libraries like React Hook Form and Formik.
- Custom input components: Building reusable, controlled custom inputs is straightforward.
Real World Use Cases for Controlled Inputs
Controlled inputs excel in scenarios where you need live feedback or conditional behavior. Here are common examples:
- Live validation: Show a green checkmark when an email format is valid, or display password strength as the user types.
- Character counters: Display "120/200 characters" for a tweet or bio field.
- Conditional fields: Show a shipping address form only when the user checks "Ship to different address".
- Formatting inputs: Automatically add hyphens to phone numbers or slashes to dates as the user types.
- Disable submit buttons: Keep the submit button disabled until all required fields are filled correctly.
- Dependent dropdowns: Populate a "City" dropdown based on the selected "Country".
Example: Live Validation with Controlled Input
        import { useState } from "react";

        export default function EmailInput() {
        const [email, setEmail] = useState("");
        const [error, setError] = useState("");

        const validateEmail = (value) => {
        const isValid = value.includes("@") && value.includes(".");
        setError(isValid ? "" : "Enter a valid email address");
        };

        const handleChange = (e) => {
        const value = e.target.value;
        setEmail(value);
        validateEmail(value);
        };

        return (
        <div>
        <input
        type="email"
        value={email}
        onChange={handleChange}
        placeholder="Email address"
        style={{ borderColor: error ? "red" : "#ccc" }}
        />
        {error && <p style={{ color: "red" }}>{error}</p>}
        <button disabled={!!error || !email}>Submit</button>
        </div>
        );
        }
What Are Uncontrolled Inputs?
An uncontrolled input lets the DOM handle the input's state. React does not track every keystroke. Instead, you access the input's current value only when you need it, typically using a ref.
This approach is closer to traditional HTML form behavior. The input manages its own value internally, and React simply reads it on demand.
Basic Example of an Uncontrolled Input
        import { useRef } from "react";

        export default function App() {
        const inputRef = useRef(null);

        const handleSubmit = () => {
        console.log(inputRef.current.value);
        };

        return (
        <>
        <input
        type="text"
        ref={inputRef}
        placeholder="Enter your name"
        defaultValue=""
        />
        <button onClick={handleSubmit}>Submit</button>
        </>
        );
        }
Here is what happens in this example:
- The DOM handles the input state: React does not track the value as the user types.
- No re-renders on typing: Performance is better because typing does not trigger React updates.
- Values are accessed only when needed: You read
inputRef.current.value
only when the user submits.
Note the use of
defaultValue
instead of
value
. This sets the initial value without making the input controlled.
Working with Uncontrolled Form Data
        import { useRef } from "react";

        export default function SimpleForm() {
        const nameRef = useRef(null);
        const emailRef = useRef(null);

        const handleSubmit = (e) => {
        e.preventDefault();
        const formData = {
        name: nameRef.current.value,
        email: emailRef.current.value
        };
        console.log("Form submitted:", formData);
        // You could send this to an API
        };

        return (
        <form onSubmit={handleSubmit}>
        <input ref={nameRef} placeholder="Name" defaultValue="" />
        <input ref={emailRef} placeholder="Email" defaultValue="" />
        <button type="submit">Submit</button>
        </form>
        );
        }
Advantages of Uncontrolled Inputs
While controlled inputs are more common, uncontrolled inputs have specific advantages that make them the right choice in certain situations.
Key Benefits
- Fewer re-renders: Typing does not trigger React re-renders, which can improve performance on very slow devices or extremely large forms.
- Simpler code for basic forms: For a contact form that only collects values on submit, uncontrolled inputs require less boilerplate.
- Easier integration with non-React code: If you are gradually migrating a legacy jQuery app, uncontrolled inputs feel more familiar.
- File inputs: The
is always uncontrolled because React cannot programmatically set file values for security reasons.<input type="file" /> - Slightly better memory usage: For forms with hundreds of fields (rare), uncontrolled inputs use less React state overhead.
When to Reach for Uncontrolled Inputs
- File upload forms: File inputs must be uncontrolled.
- Simple newsletter signup: One or two fields, no live validation needed.
- Performance-critical forms: If you have 100+ inputs on a single page (unusual in modern React), uncontrolled inputs avoid re-renders.
- Integrating third-party widgets: Some external libraries expect to manage DOM state directly.
Example: File Upload with Uncontrolled Input
        import { useRef } from "react";

        export default function FileUploader() {
        const fileRef = useRef(null);

        const handleUpload = () => {
        const file = fileRef.current.files[0];
        if (file) {
        console.log("Uploading:", file.name);
        // Upload logic here
        }
        };

        return (
        <div>
        <input type="file" ref={fileRef} />
        <button onClick={handleUpload}>Upload</button>
        </div>
        );
        }
With file inputs, you cannot set or clear the value from React for security reasons. Uncontrolled is the only viable approach.
Controlled vs Uncontrolled: Side by Side Comparison
| Controlled Inputs | Uncontrolled Inputs |
|---|---|
| Value managed by React state | Value managed by DOM |
| Re-renders on every keystroke | No re-renders while typing |
| Real-time validation possible | Validation only on submit or demand |
| More code to write initially | Less boilerplate for simple forms |
| Easier to test and debug | Harder to test (requires DOM access) |
| Works with React Hook Form (performant) | Native HTML form behavior |
| Recommended for most React apps | Best for file inputs and simple forms |
Performance Considerations
Many developers worry that controlled inputs cause performance problems because they re-render on every keystroke. In practice, this is rarely an issue.
React is designed to handle frequent updates efficiently. A typical form with 10-20 controlled inputs will render so fast that users never notice. The re-renders only affect the input component and its children, not the entire application.
However, there are edge cases where performance matters:
- Very slow devices: Older smartphones might show lag with many controlled inputs.
- Hundreds of inputs: A massive spreadsheet-like interface with 500+ cells.
- Complex derived state: If each keystroke triggers expensive calculations or API calls.
For these scenarios, consider:
- Using uncontrolled inputs with refs
- Debouncing your validation or API calls
- Using React Hook Form, which uses uncontrolled inputs internally for better performance
Common Mistakes to Avoid
1. Mixing Controlled and Uncontrolled Patterns Accidentally
If you set both
value
and
defaultValue
on an input, or if you set
value
without an
onChange
handler, React will show a warning and the input will behave unpredictably.
        // Wrong - missing onChange makes this read-only
        <input value={name} />

        // Wrong - mixing controlled and uncontrolled
        <input value={name} defaultValue="John" />

        // Correct - fully controlled
        <input value={name} onChange={(e) => setName(e.target.value)} />

        // Correct - fully uncontrolled
        <input defaultValue="John" />
2. Overusing Controlled Inputs for Simple Forms
For a simple newsletter signup with two fields and no live validation, an uncontrolled form with
refsFormData3. Forgetting That File Inputs Cannot Be Controlled
Attempting to set
valueref4. Unnecessary State for Every Keystroke
If you only need the value on form submission, consider whether controlled inputs are overkill. Uncontrolled inputs with a submit handler might be simpler.
Best Practices for React Forms
Default to Controlled Inputs
For most React applications, controlled inputs should be your default choice. They align with React's declarative programming model and make forms easier to reason about. The extra code is justified by better maintainability, easier testing, and real-time capabilities.
Use React Hook Form for Complex Forms
For large or complex forms, consider using React Hook Form. It combines the performance of uncontrolled inputs with the convenience of controlled ones. It reduces boilerplate and provides excellent validation support.
        import { useForm } from "react-hook-form";

        export default function MyForm() {
        const { register, handleSubmit, formState: { errors } } = useForm();

        const onSubmit = (data) => console.log(data);

        return (
        <form onSubmit={handleSubmit(onSubmit)}>
        <input {...register("email", { required: true })} />
        {errors.email && <p>Email is required</p>}
        <button type="submit">Submit</button>
        </form>
        );
        }
When to Choose Uncontrolled Inputs
Reach for uncontrolled inputs in these specific scenarios:
- File inputs: No alternative.
- Very simple forms: One or two fields, submit-only usage.
- Performance-critical edge cases: Hundreds of inputs on very slow devices.
- Gradual migrations: Adding React to an existing jQuery or vanilla JS app.
My Recommendation
After building dozens of React applications of all sizes, here is the practical guidance I follow:
- Use controlled inputs as your default approach. The benefits for validation, debugging, and dynamic behavior far outweigh the minor performance cost for 99% of use cases.
- Use uncontrolled inputs only when:
- You are working with file uploads
- The form is extremely simple (2-3 fields, no live validation needed)
- You have measured a genuine performance issue caused by controlled inputs
- For complex production forms, use React Hook Form. It gives you the best of both worlds: the control of React with the performance of uncontrolled inputs.
Controlled components may require a few more lines of code initially, but they provide better scalability, maintainability, and user experience in real-world projects.
Final Thoughts
Both controlled and uncontrolled inputs solve the same fundamental problem: managing form state in React. The difference lies in who owns that state. React owns it in controlled inputs. The DOM owns it in uncontrolled inputs.
Neither approach is universally "better". The right choice depends on your specific requirements:
- Need real-time validation, dynamic fields, or conditional logic? Choose controlled inputs.
- Building a simple form with minimal interactivity or working with file uploads? Choose uncontrolled inputs.
- Building a large, complex production form? Consider React Hook Form.
Learning both approaches makes you a more versatile React developer. You will know when to reach for the simplicity of uncontrolled inputs and when to leverage the full power of controlled components. Understanding these patterns helps you write cleaner, more efficient, and more maintainable React applications.
Frequently Asked Questions
1: Which approach is better for performance, controlled or uncontrolled inputs?
Uncontrolled inputs have better raw performance because they do not trigger React re-renders on every keystroke. However, for most applications, the difference is negligible. Controlled inputs re-render only the input component, which React handles in milliseconds. Only consider uncontrolled inputs for performance if you have hundreds of inputs or are targeting very slow devices.
2: Can I convert an uncontrolled input to a controlled input later?
Yes, but you need to be careful. Changing an input from uncontrolled to controlled during a component's lifecycle will cause React to throw a warning. If you need to switch, ensure the input is remounted with a
key
prop, or restructure your component so the input is always controlled or always uncontrolled from the first render.
3: How do I validate uncontrolled inputs?
You validate uncontrolled inputs manually when the user submits the form. You read the current values from your
refs
, run validation logic, and display errors. Unlike controlled inputs, you cannot validate in real time as the user types without adding extra event handlers, which defeats the simplicity of uncontrolled inputs.
4: What does React Hook Form use under the hood?
React Hook Form uses uncontrolled inputs by default for better performance. It registers inputs using refs and tracks changes without triggering re-renders. However, it provides a similar API to controlled inputs and integrates with validation libraries like Zod. This gives you the performance of uncontrolled inputs with the developer experience of controlled ones.
5: Do I always need to use
useState
for controlled inputs?
Not necessarily. While
useState
is the most common way to manage controlled input state, you can also use useReducer for complex form state, or state management libraries like Redux or Zustand. For simple forms,
useState
is perfectly fine. For forms with many interdependent fields,
useReducer
or React Hook Form may be cleaner.